

REVIEW · DIAMOND HEAD CRATER HIKES
Honolulu: Diamond Head Hike with Transfers
Diamond Head is Oʻahu’s best postcard with a workout attached. This hike takes you from the paved start to the switchbacks, through a short tunnel climb, and up past WWII-era bunkers to a summit lookout with sweeping views of Waikīkī, the Pacific, and the Koʻolau Mountains. I love the mix of geology and history, and I like that the transfers remove the biggest headache (parking and getting there on time). The one possible drawback: when the logistics don’t run cleanly, you feel it fast, since this is a time-based pickup and the hike itself is not wheelchair-friendly.
The route is paced in chunks, so you always know what’s coming next: a warm-up stretch, a steeper zigzag section, the tunnel moment (bring a flashlight or use your phone light), and then the stair push. Expect about 3 hours total in your schedule, with the hiking itself closer to ~2 hours round trip, depending on your pace and photo stops.
If you’re able to handle stairs and uneven volcanic terrain, this is one of those tours that feels worth the money because it buys you convenience plus a real summit experience—not just a scenic drive.
In This Review
- Key things to know before you go
- Why Diamond Head feels like a must-do, not a tourist trap
- The transfers: the part that saves your day
- Segment by segment: what the 3-hour experience feels like on the ground
- 1) Trailhead to switchbacks (about 15 minutes)
- 2) Switchbacks to the tunnel (about 15 minutes)
- 3) Tunnel to the stairs (about 10 minutes)
- 4) Observation bunker to the summit (about 10 minutes)
- The tunnel and stairs: how to pace the hardest parts
- Tunnel mindset
- Step mindset
- Summit views: what you’re actually working for
- Price and value: what $75 buys you (and what it doesn’t)
- Who this tour suits best (and who should reconsider)
- Practical tips so your hike goes smoothly
- Shoes and traction
- Sun protection
- Light for the tunnel
- Water planning
- When the plan goes sideways: how to protect your day
- Should you book Honolulu: Diamond Head Hike with Transfers?
Key things to know before you go
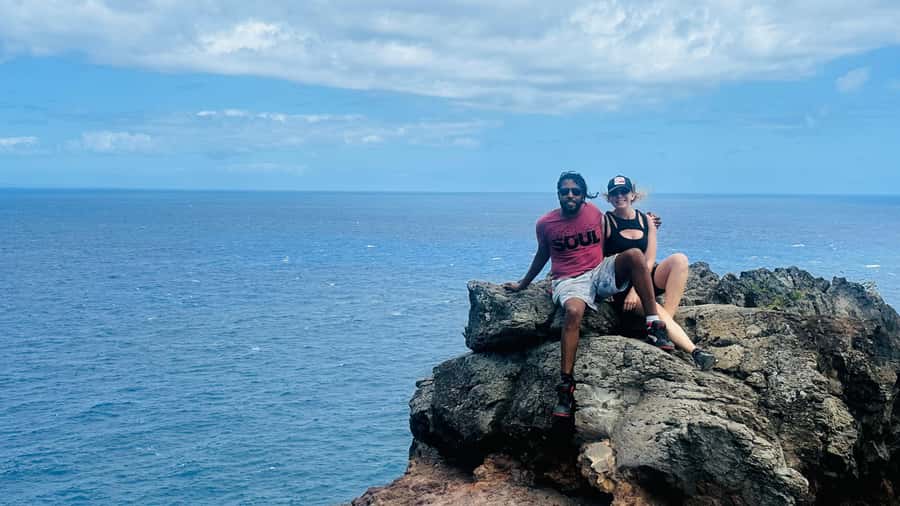
- Hotel pickup and drop-off: you avoid rental-car and parking stress for Diamond Head
- WWII bunkers on the way up: the lookout isn’t just views, it’s also wartime structures
- Tunnel climb is real: bring a flashlight or rely on your phone light
- About 74 concrete steps: the “spiral staircase” section is the hardest part for many people
- A short, steep hike: moderate difficulty over about 1.6 miles round trip
- Driver language support: Spanish and English, with helpful explanations in the ride
Why Diamond Head feels like a must-do, not a tourist trap
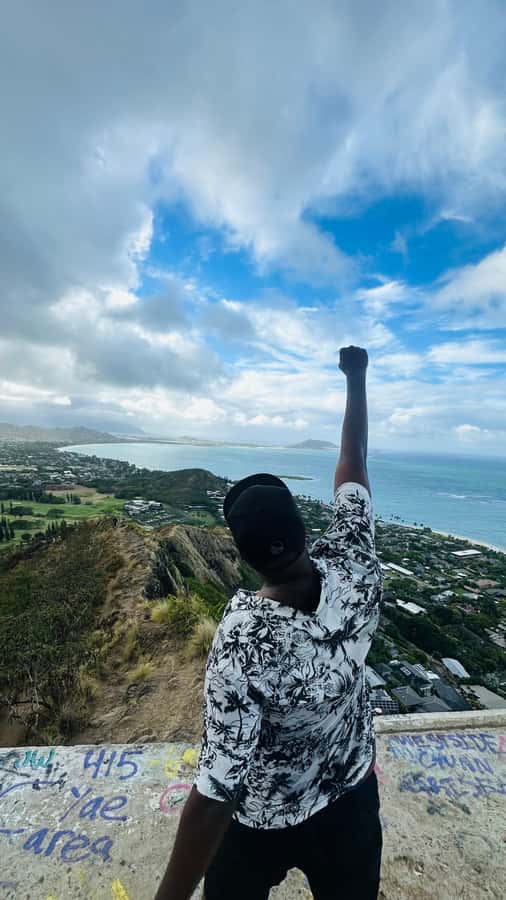
Diamond Head has the kind of silhouette you recognize instantly from Waikīkī. But the real reason it sticks is what happens when you earn it. On the way up, you’re not just walking through grass—you’re moving across volcanic terrain with that sharp, rocky texture that makes the whole crater feel physical and close.
I also like that this experience is more than scenery. You pass WWII observation bunkers, and that gives the hike a “why it matters” layer without turning into a museum detour. The summit is the payoff: you can look out over Waikīkī’s coastline, spot a lighthouse below, and see surfers along the shore on clear days.
One more practical win: transfers. Getting to Diamond Head can be annoying depending on where you’re staying and how your day is planned. With pickup and drop-off handled, you can focus on water, sun protection, and pacing.
The transfers: the part that saves your day
You’re picked up and dropped off as part of the price, and that matters more than it sounds. Diamond Head is popular. That means parking can be hit-or-miss, and timing matters because you want to start hiking while you still feel fresh.
In real life, I’ve learned that the most stressful tours are the ones where you have to coordinate your own arrival and then hope you timed it right. With this one, you hand over that responsibility. The experience provider The Big Kahuna Tours runs pickup and transport, and drivers communicate in Spanish and English.
Some riders have specifically mentioned pickup in a Range Rover and a driver named Sergio who explained things during the ride and even offered restaurant and bar tips afterward. That kind of extra context can make the hike feel smoother, because you arrive knowing what you’re walking into.
Do keep one caution in mind: a small number of negative experiences center on pickup not happening on time and difficulty reaching the provider. If you book, I’d treat this as a “show up with buffer time” activity and keep your phone handy.
The crater rim by other schedules



Segment by segment: what the 3-hour experience feels like on the ground

This hike is built around short stages, which helps you mentally. You don’t just start climbing and hope it ends eventually.
1) Trailhead to switchbacks (about 15 minutes)
You begin at a paved portion that gradually transitions into dirt and uneven sections. It’s a good warm-up. You’ll see dryland vegetation and lava rock formations, and that early stretch sets expectations: this is volcanic Oʻahu, not a flat park path.
What to watch for here is footing. Even at the beginning, the trail can be irregular. Good shoes matter more than you’d think, because you’ll be stepping on rock and compacted dirt.
2) Switchbacks to the tunnel (about 15 minutes)
Then the trail steepens. The switchbacks zigzag upward, and you’ll start getting crater-floor views and wider looks at the surrounding landscape. This is a “steady effort” section: you don’t need speed, but you do need consistency.
If you pause for photos, do it briefly. If you stop too long, the sweat cools, your legs tighten, and the next climb feels harder.
Other ridgelines with a view of town
- Self guided Hike Trail to Nature Walk & Waterfall
★ 4.5 · 283 reviews - Manoa Falls Rainforest & Self-Guided Hike
★ 4.5 · 227 reviews - Diamond Head Hike Shuttle with Reservation Tickets Included
★ 5.0 · 223 reviews - Manoa Waterfall Hike with Waikiki Pickup & Healthy Lunch
★ 4.5 · 185 reviews
3) Tunnel to the stairs (about 10 minutes)
This is the moment most people remember. The trail includes a short, dimly lit tunnel, so you’ll want a flashlight—or you can use your phone light.
Practical tip: make sure your phone battery is charged. You don’t want to be fumbling in the tunnel while your light dies.
The tunnel isn’t long, but it’s a change of pace and lighting that can make you feel like you’re suddenly “in” the crater’s interior. It’s also one of those sections where having a group rhythm helps.
4) Observation bunker to the summit (about 10 minutes)
After the tunnel, you reach a spiral staircase area with a steep push. The route includes a set of 74 concrete steps before you get to the historic observation bunker.
From there, you pass through the WWII observation structure and then climb a final short staircase to the summit lookout. This is where the hike shifts from effort to reward.
The tunnel and stairs: how to pace the hardest parts
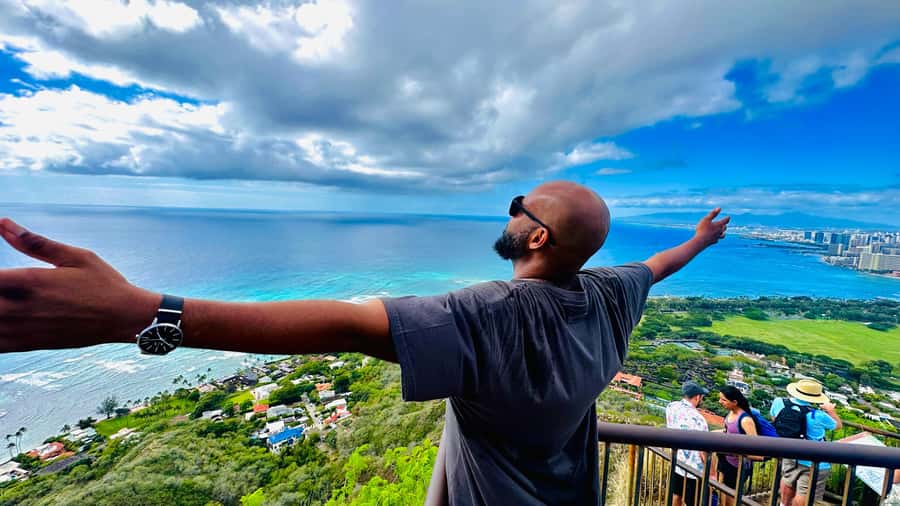
Most people can handle Diamond Head if they pace it like a climb, not like a casual walk. Here’s how I’d treat the two “hard segments” based on what the route includes.
Tunnel mindset
Think of the tunnel as a quick obstacle, not an ordeal. Bring light. Move with purpose. Once you’re out, you’re back to open air and can reset your breathing.
Step mindset
The stair section is steep enough that form matters. Keep your steps compact, use the rail if there is one, and avoid sprinting. If you start too fast, your legs will let you know.
The good news is that the stairs are part of a route that’s clearly staged. You can count stages to keep your brain from spiraling: after the tunnel, you know you’re working toward that stair climb and then the bunker.
Summit views: what you’re actually working for
At the top, you get panoramic views of Waikīkī, the Pacific Ocean, and the Koʻolau Mountain Range. From this angle, Honolulu looks different—more layered, more dimensional.
You can also spot the lighthouse below, and on many days you’ll see surfers along the coastline. That mix—city + ocean activity + volcanic crater—makes Diamond Head feel like a whole island in one frame.
I also like that you’re not rushed off the summit. Plan for about 20–30 minutes at the top for photos and just soaking in the view and the WWII context in the observation area.
Photo tip: take a few wide shots first, then zoom in on details like coastline curves and the lighthouse. Your legs will feel tired by then, so it’s smart to get the “big view” out of the way early.
Price and value: what $75 buys you (and what it doesn’t)

This is priced around $75 per person for a tour lasting about 3 hours total. That price covers the parts that are easiest to mess up on your own:
- Pickup and drop-off
- Transportation
- Park entry ticket
- A water bottle
It does not include meals or snacks, and a guide isn’t listed as included. In practice, you’ll likely get helpful commentary in the ride, but you should bring your own questions and don’t plan on a full guided lecture unless you see it confirmed.
So is it worth it? For most people, yes—if your hotel is far enough from Diamond Head that getting there yourself would take time or stress. If you’re already staying nearby and you’re confident with parking, you could do it cheaper on your own. But the time savings and simplicity are exactly what this tour sells.
One more value angle: you don’t waste energy figuring out logistics mid-trip. That’s money you spend on convenience, and it’s often the best kind.
Who this tour suits best (and who should reconsider)
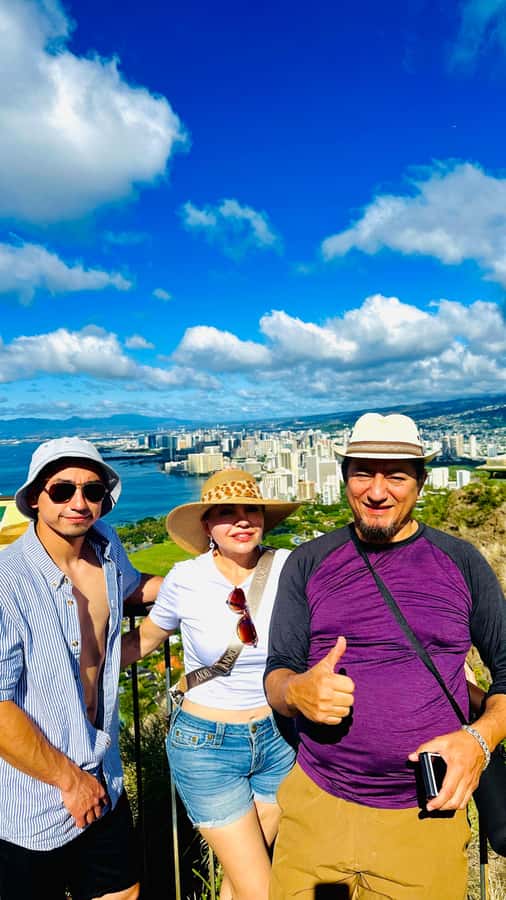
This hike is listed as moderate and about 1.6 miles round trip, with a steep stair section. So it suits you if you can comfortably walk uphill on uneven ground and handle stairs.
It’s not suitable for wheelchair users, and it’s not aimed at people over 95 years. If you’re in that range, the safest choice is to skip this one.
If you’re traveling with family and grandparents, consider this: one family described it as definitely a work-out but doable for parents in their 60s. That doesn’t mean it’s effortless. It means the route is possible for people who move carefully and pace themselves.
Practical tips so your hike goes smoothly
Shoes and traction
This is uneven volcanic terrain plus stairs. Wear comfortable closed-toe shoes with good grip. If you’ve got bland sneakers that slip on wet sidewalks, test them first.
Sun protection
You’ll be outside the whole time, and Hawaii sun is honest. Bring sunscreen and a hat. Also, don’t rely on the shade of the tunnel or observation areas; they’re short.
Light for the tunnel
You’ll want a flashlight or your phone light for the tunnel section. Don’t wait until you’re at the entrance. Check it before you start.
Water planning
You get a water bottle with the tour. That’s helpful, but if you sweat a lot or hike often, consider bringing an extra small bottle too. The route can feel longer when the stairs hit.
When the plan goes sideways: how to protect your day

There are a small number of serious complaints centered on pickup not arriving and then trouble getting help. That’s not the norm in the positive experiences, but it’s enough that I recommend building a little slack into your day.
What you can do:
- Double-check your pickup details before you head out.
- Keep a charged phone with you.
- If you’re traveling at peak season, treat this like a “leave early, not right on time” situation.
Should you book Honolulu: Diamond Head Hike with Transfers?
I’d book it if you want the full Diamond Head experience with easy transportation, included park entry, and a route that mixes crater views with WWII bunkers. The hike itself is short, staged, and manageable for many people who consider themselves “moderately active.”
I would hesitate if you’re very anxious about timed pickups or if your schedule is tight enough that a delayed vehicle would wreck the rest of your day. In that case, you might prefer a more independent plan so you control your start time.
If you want a memorable summit with Waikīkī and ocean views—and you’d rather spend your energy hiking instead of navigating—this one fits nicely.
From the Jet Bridge to the Beach
- Arrival Transfer: Airport Shuttle Honolulu and Waikiki or Cruise Terminal★ 4.0 · 1,242 reviews
- Shared Round-Trip Transfer: Honolulu Airport to Hotel or Cruise Terminal★ 4.0 · 711 reviews
- Shared Arrival Transfer: Honolulu Airport to Hotel or Cruise Terminal★ 3.5 · 609 reviews
- Oahu: Roundtrip Shuttle From Waikiki to Dole Plantation & Haleiwa★ 4.5 · 561 reviews
Trails Above the City
- Self guided Hike Trail to Nature Walk & Waterfall★ 4.5 · 283 reviews
- Manoa Falls Rainforest & Self-Guided Hike★ 4.5 · 227 reviews
- Diamond Head Hike Shuttle with Reservation Tickets Included★ 5.0 · 223 reviews
- Manoa Waterfall Hike with Waikiki Pickup & Healthy Lunch★ 4.5 · 185 reviews
Up the Rim of Leahi
- Diamond Head Crater★ 5.0 · 943 reviews
- Diamond Head Hike Shuttle with Reservation Tickets Included★ 5.0 · 223 reviews
- Diamond Head Hiking Tour with Ticket and Reservation Inclusion★ 4.5 · 103 reviews
- Honolulu: Diamond Head Segway Tour★ 5.0 · 37 reviews
The Latest from Kalakaua Avenue and Beyond





Diamond Head Crater Hikes, compared.
 ★ 5.0Diamond Head CraterFrom $39943 reviews
 ★ 5.0Diamond Head Hike Shuttle with Reservation Tickets IncludedFrom $39223 reviews
 ★ 4.5Diamond Head Hiking Tour with Ticket and Reservation InclusionFrom $50103 reviews
 ★ 5.0Diamond Head Segway TourFrom $15537 reviews
 ★ 4.0Waikiki: Diamond Head Hiking/ Hiking Starts at 7:00am.From $6328 reviews
 ★ 5.0Half-Day Hiking Tour to Diamond Head and Makapuu LighthouseFrom $7026 reviews
 ★ 4.5Diamond Head Crater Trailhead Transfer & Entry FeeFrom $5021 reviews
 ★ 4.5Diamond Head and Manoa Falls Hike and Adventure TourFrom $14915 reviews
Browse the lists this tour appears in